After diving into the research on compounding PLA with spent coffee grounds accomplished at Washington State and assisted by our Filabot EX2, our brains were buzzing with the idea of making some of our own coffee PLA here in our own lab. Between research and development for new iterations of our lineup of extruders and polymer testing services for customers, there is typically filament being created and spooled every day of the week at Filabot HQ- and there is coffee being made every day as well! We collected our spent coffee grounds for about a week, which provided us with plenty of material to get started with our experiment.
The researchers at Washington State used oil extracted SCGs, which likely provide superior performance as a binder compared to our SCGs which still retain their 15% coffee oil, but rather than take a detour into extracting coffee oil from grounds we just ran with what we had- ideally any of you at home with the means to extrude your own filament could replicate these same results! Our coffee was ground at close to the finest setting on a typical consumer-grade burr grinder- think espresso grind, not french press. If the individual coffee particles are too large they will clog the nozzle of the extruder while making filament, or else the hotend of the 3D printer while printing. To ensure that there wasn’t any moisture remaining in the grounds, they were cooked in the kiln for a while- this could easily be accomplished in an oven/toaster oven as well.
We combined our dried SCGs with virgin LX175 PLA pellets at a 20% mixture by weight, and mixed it thoroughly by hand by dumping both weighed ingredients into a ziploc bag and shaking and kneading the bag until the pellets were evenly coated. This method is another compromise as compared to the much more scientifically exacting process utilized by the WSU researchers, but is another low-tech solution that has been shown to work for compounded powdered additives in past experiments in our lab. If you try this at home and end up with some excess SCG in the bottom of the bag don’t get hung up on it, just try to make sure it doesn’t all dump into your extruder hopper at once.
Next we set up our Filabot EX6 (this will work with an Filabot EX2 as well, as demonstrated by WSU) with two Filabot Airpaths and a Filabot Spooler to collect the filament. We began with a bit of virgin LX to get the filament running to the spool, then mixed in our SCG/LX to the hopper. Observing the graphs on the Filameasure showed that the extrusion results were not consistent to an acceptable standard to be used by filament-driven machines- that is, 1.75 +/- .05 mm. In this case though, we weren’t particularly concerned with getting consistent filament because the plan was to immediately pelletize the resulting filament and print with it on the MDPH2. We spooled about 1 kg of material and then moved on to the Pelletizer, turning the filament back into pellets. If our end goal was to use this material on a standard filament-driven 3D printer, our steps would be the same up until this point. Instead of proceeding to the MDPH2, the pelletized SCG/LX175 would be fed back into the EX6 for a second time, resulting in more consistent filament as the coffee powder is already suspended in the polymer.
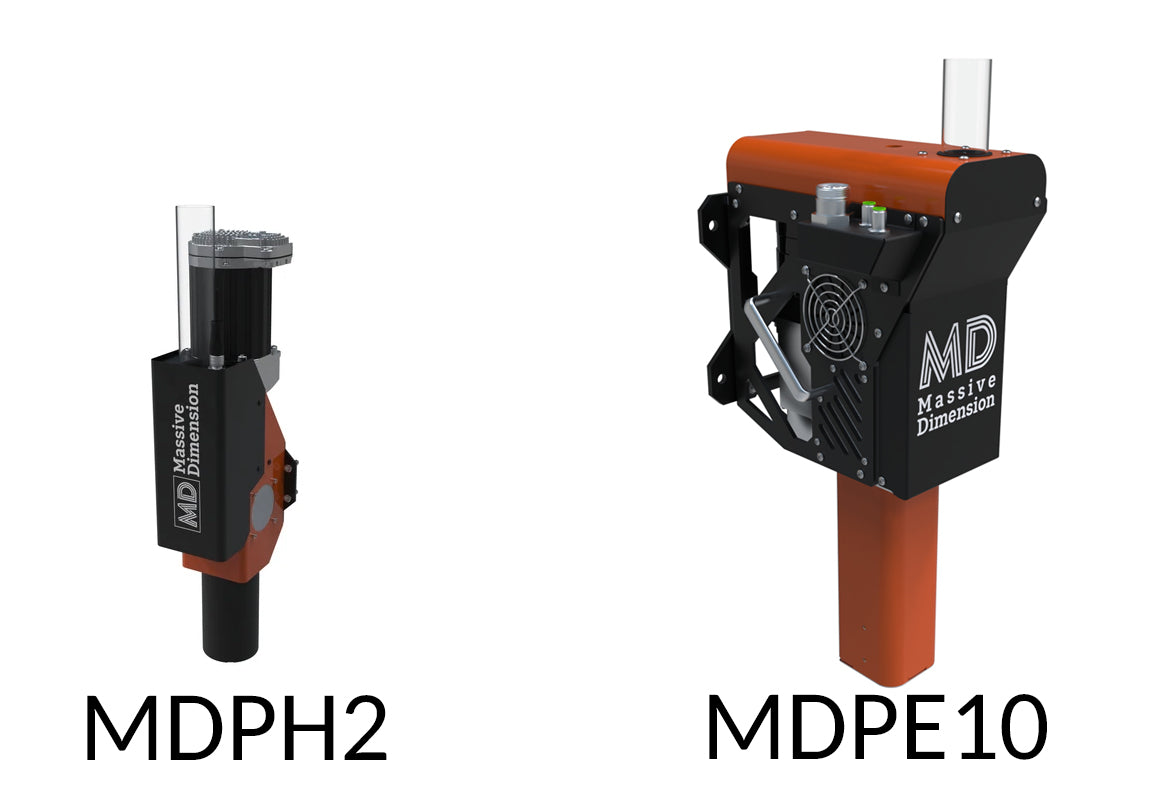
Finally, the SCG/LX pellets were loaded into our MDPH2 and used to make several prints. We wanted at least one print that kept with the theme of coffee-idolatry, but since we don’t consider PLA food-safe for hot beverages the obvious choice of a mug was out. Instead we printed an espresso tamp, which was a huge improvement over the factory-supplied injection molded tamp that shipped with our espresso machine. Printed solid (100% infill) it has a nice heft and feels nice in the hand.
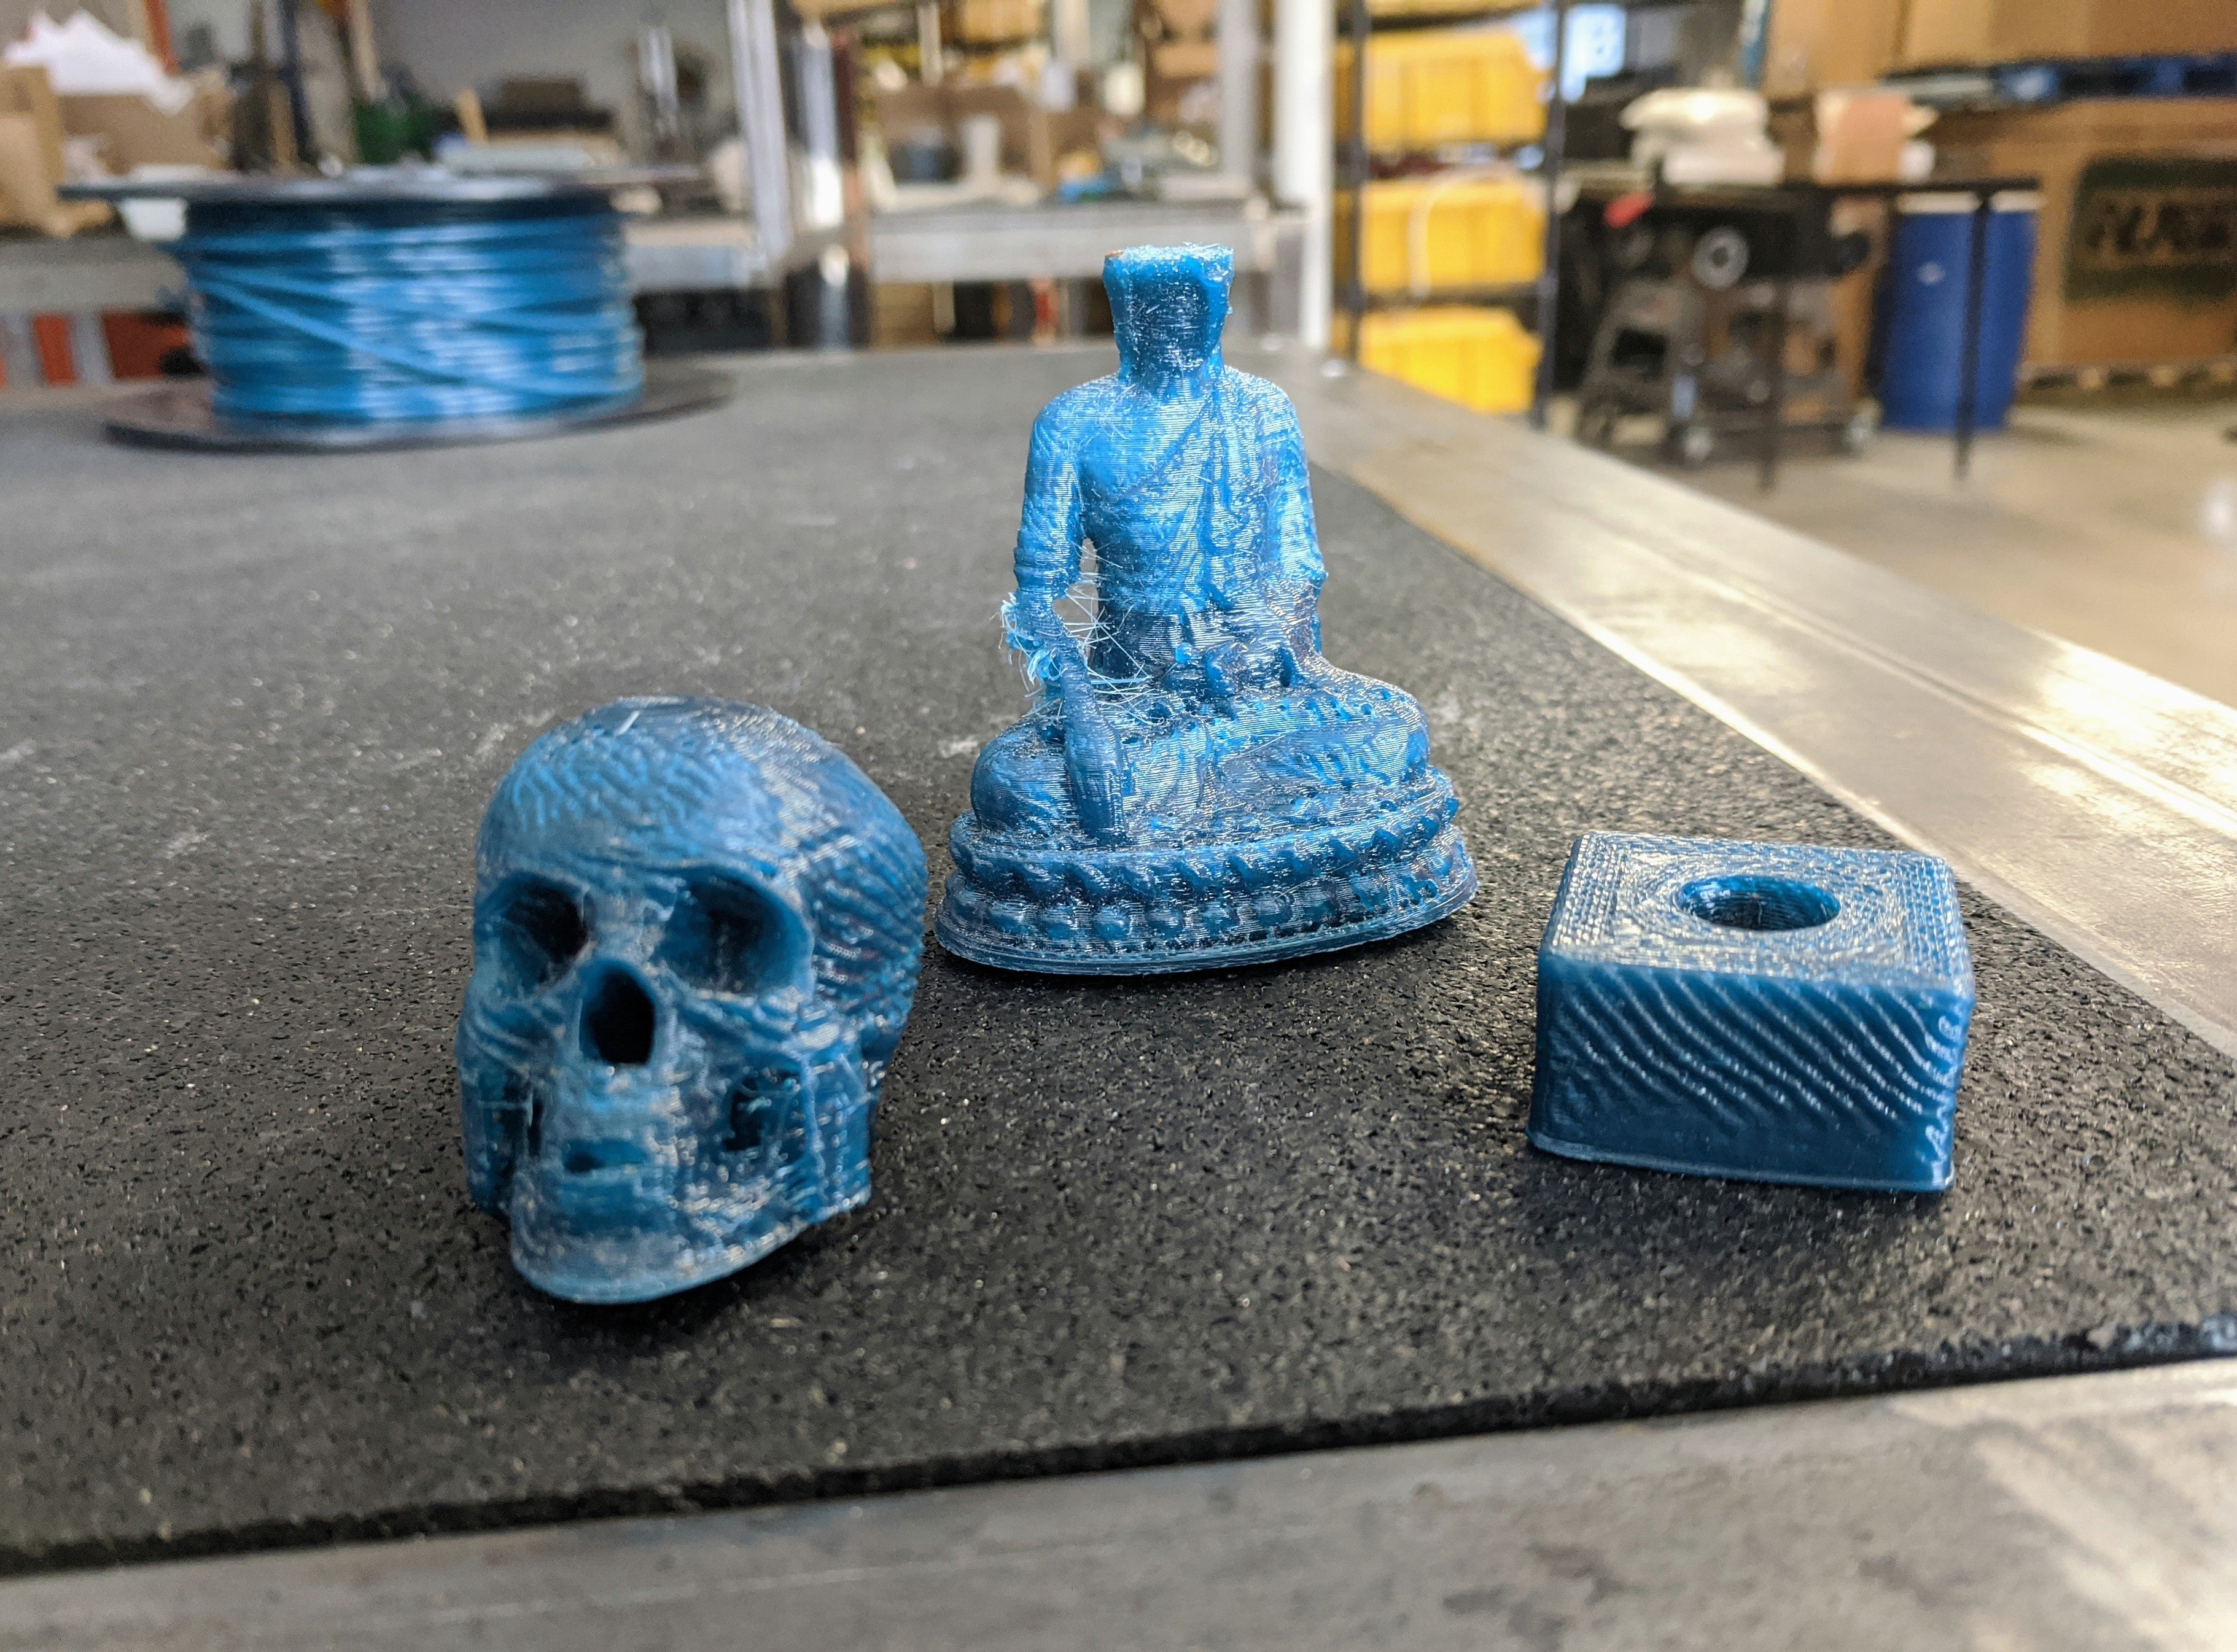
We printed a few other random files with the SCG/LX175 mixture just to get a sense of its characteristics, including a skull planter and a watering can. The compound polymer printed without any difficulties on the MDPH2, running at the same extrusion settings as pure LX175. We didn’t experience any clogging or underextrusion conditions while printing on a 1.5 mm nozzle. Aesthetically, it is quite pleasing. If you are drawn to more organic or natural appearing print materials, it falls into those categories. The coffee grinds stand out as textural variance, and the hue of the material darkens depending on the thickness of the part- thinner walls let a bit more light through and appear more the color of coffee with cream in it, while thicker accumulations of material turn the color of dark chocolate.
Having tried a 20% by weight mixture in keeping with the findings of WSU researchers which suggested this to be the strongest ratio, in the future we would like to try a mixture with less SCG incorporated into the PLA as a merely aesthetic addition- something like a 3% mixture much like you would see with colored pigments. A lower percentage would be possible to extrude on the EX6 and achieve 1.75 +/- .05 filament without an additional compounding process using the Pelletizer, or alternatively could be dry mixed and fed directly into the MDPH2. There are always more experiments to try! We hope you enjoyed reading along with our findings, and would enthusiastically suggest that you try making your own SCG/PLA filament on your own. If you try it, let us know how it goes!
Below are some photos from the experiments:
1. Spent coffee grounds after drying

2. Weighing out SCG_polymer ratio

3. Filament extrusion

4. Spooled coffee filament

5. Espresso tamps

6. Espresso Success!

7. Tamp in action

8. Skull planter print

9. Watering can print