
Working within the umbrella of additive manufacturing offers the unique opportunity to utilize the technology you have created as a tool to aid further development and support new products. Perhaps that is a long-winded way of saying that once you have built a 3D printer you can use it to print parts and pieces for more 3D printers and related machines. At Filabot HQ, 3D printers are utilized extensively for rapid prototyping parts for new machines that are in development, though of course there are limitations to the application of plastic parts. Often structural parts are first printed from plastic, only to be machined from metal in future, finished versions of a product. However, occasionally there are parts which cannot be prototyped with a plastic version, such as parts which must be subjected to high temperatures. If these parts are additionally labor intensive to machine, it can be frustrating to put a great deal of time and effort into producing a part only to test it and find out that it must be remade! We recently found ourselves looking at producing such a prototype part, and decided that the solution was to learn how to cast metal parts from 3D printed objects.
If you have poked around on the 3D printing community on the internet you have likely seen the results of this process in some form or another, perhaps on Reddit or a Youtube channel. Casting metal is an ancient technology, and there are numerous ways to go about it ranging from methods that stay low-tech and low-cost to methods that are cutting edge and expensive. After some initial research into the various options we decided to strike somewhat of a middle ground, investing some money into tools that would help us achieve the results we wanted without spending astronomical amounts on the most up-to-date machines. We decided to try a form of casting called “lost wax”, which involves making the object you eventually want to cast in metal first out of wax, then making a mold around that object (called an “investment”), firing the mold in a kiln, which hardens the mold and also burns out the wax (hence the wax being “lost”), and then finally pouring the molten metal into the investment. Starting from the beginning, we needed to make our prototype part out of wax!
Historically, the lost wax process has been used for sculpture and jewelry, as well as dentistry. Traditionally the wax object might have been carved by an artisan, though we intended to use our 3D printers to do that tricky and highly skilled labor for us. Many people have successfully used this same process but utilize good old PLA for their prints, but we wanted to try printing with actual wax for a few reasons. The wax has a lower burnout temperature, and will burn out from the investment faster than the PLA. Additionally, it leaves less ash residue in the investment and creates less smoke. We sourced wax from machinablewax.com in the form of 1.75mm filament as well as pellets, from which we extruded our own 2.85mm filament on the Filabot EX2. Truth be told, the wax is a bit tricky to print with- it shrinks while it cools and requires extra precautions in order to keep it from warping and coming detached from the print bed.
Here is what we learned from our experience printing with wax: it is easiest to accomplish with an enclosure. Our first attempts to print with the filament were on some of our Prusia printers that do not have enclosures- you can minimize cooling by turning off the print fans but the wax was still cooling too quickly. This is likely partially dependent on ambient temperatures- these experiments were done in the middle of the winter in Vermont, where even inside our warehouse it is below 70 degrees. For printers without an enclosure, we got the best results by taping a piece of watercolor paper to the print bed and printing directly to that- the initial layer of wax sinks into the textured paper and bonds quite strongly to it.
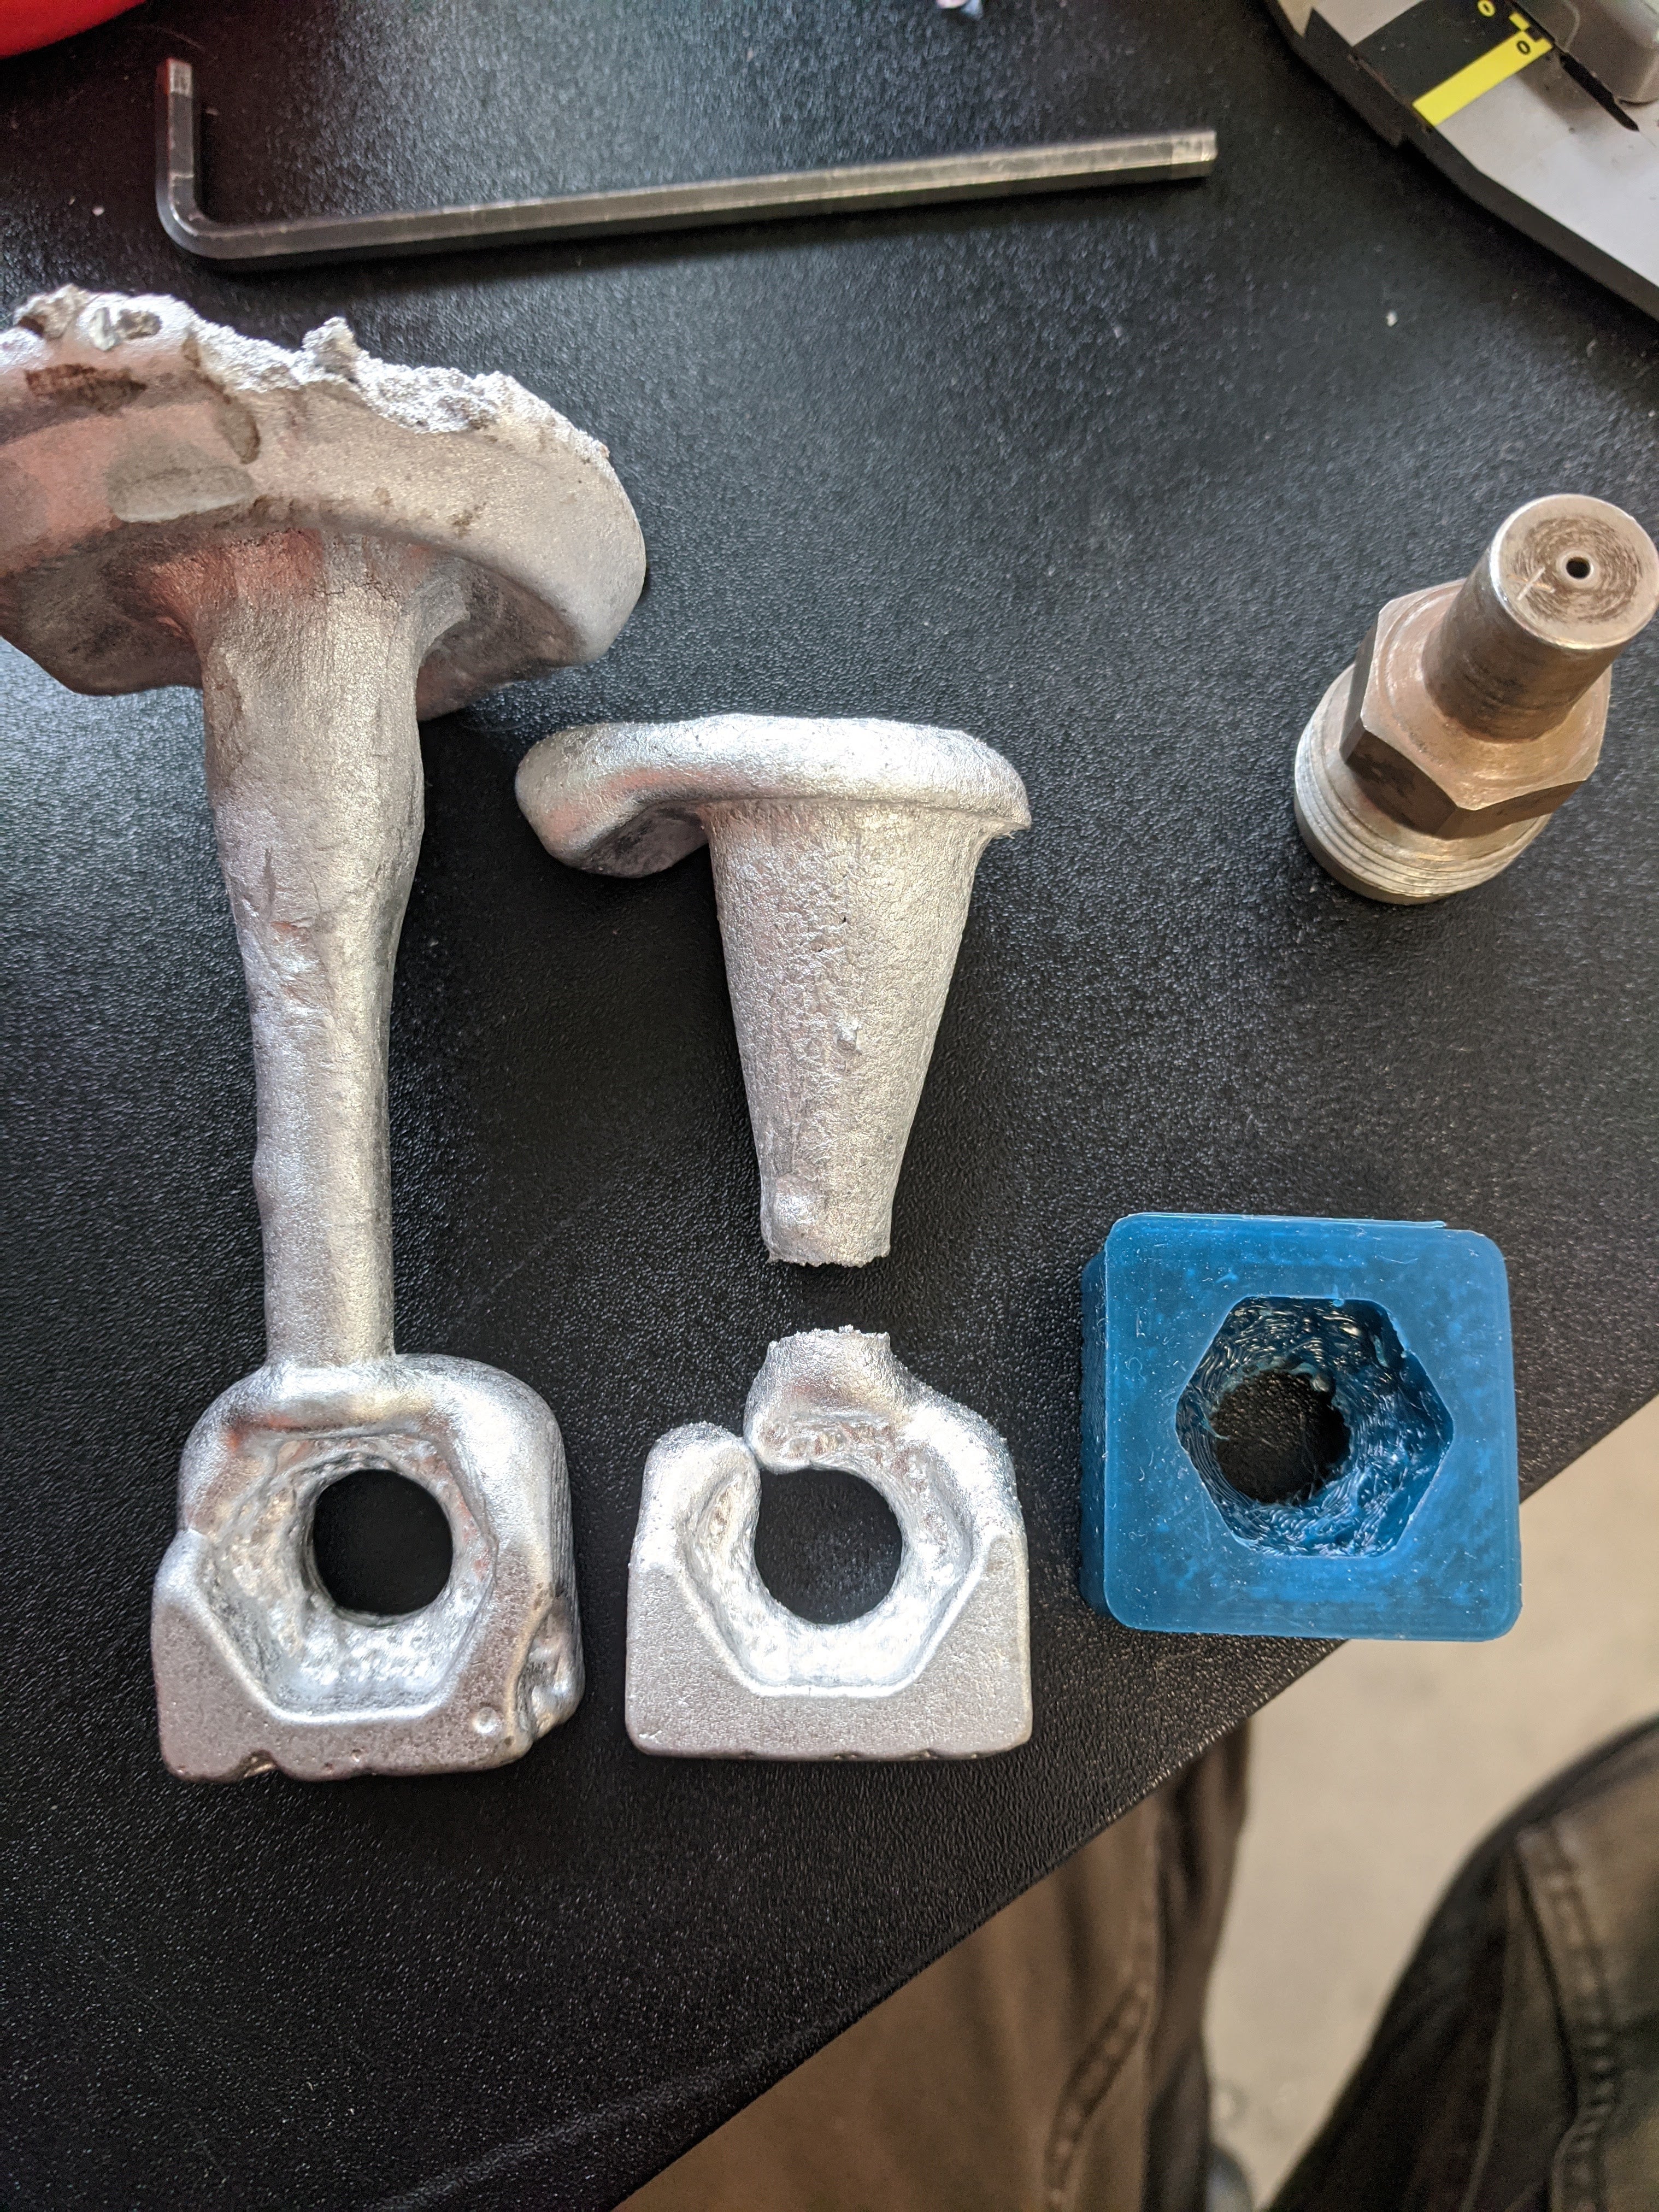
Eventually we made our own 2.85mm filament to run on our Ultimaker and the addition of the enclosure made all the difference. We used hairspray on the glass bed for some extra stick and just ran it with the stock settings on the machine for PLA. As mentioned prior, the wax shrinks a bit as it cools, and the metal will actually shrink a small amount when it is poured into the investment as well, so you have to factor that into your printed object size if you are designing a part with precise measurements. Our cast object needed to be able to precisely fit over an extrusion nozzle. We found scaling the print up by 3% from our final dimensions ended up just right!
Once we had our wax object successfully printed, it was time to start digging into the rest of the casting process- it isn’t rocket science, but there are several stages and lots of variables that ultimately determine success or failure. We got to experience a little bit of both, tune in for the second installment of this series to follow along with our trials and tribulations, if casting from a printed object is something you’ve been considering, there should be enough information to help you get started yourself!
Below are some photos from the experiments:
1. Wax prints including skull, Buddha, nozzle heater

2. Wax filament 1.75 from machinablewax.com and 2.85 extruded from EX6