This is the follow-up to a two-part blog installment, the first part of which was shared last week. If you didn’t catch the first post, you might want to go here and read from the beginning! Where part one left off was with a handful of successfully printed objects made from wax, which were ready to be invested! You might be wondering, what is investing anyway?
In this case, investing doesn’t have anything to do with stonks or making money. While casting, the investment is the name for the mold that you create and pour the molten metal into. It is arguably the most critical part of the entire process, as whether or not you get it right will determine if the cast is successful. The first step of investing involves attaching your wax object to a sprue. Sprues are also made of wax and can be bought pre-made at different sizes for different size investments. They are essentially a skinny cylinder with a larger spout at one end. They anchor your wax object in place while the investment is poured, then later when the investment is fired in a kiln and the wax melts out, the void left behind becomes the channel through which the molten metal is poured and fills the mold. You can design your prints to come off the printer bed with a sprue already attached, or simply buy them and melt the end and press it to your print to attach it. Where the sprue attaches to the print is one of the most critical factors for a successful casting. In fact, for objects with complex geometry it is more advanced than we could hope to cover in a single blog post. The basic idea of sprue logic is that you want the metal flow to be able to efficiently reach all the corners and crannies of the mold before it cools enough to turn solid and freeze. If the metal freezes and cuts off the flow to any part of your mold, you will end up with an incomplete casting.
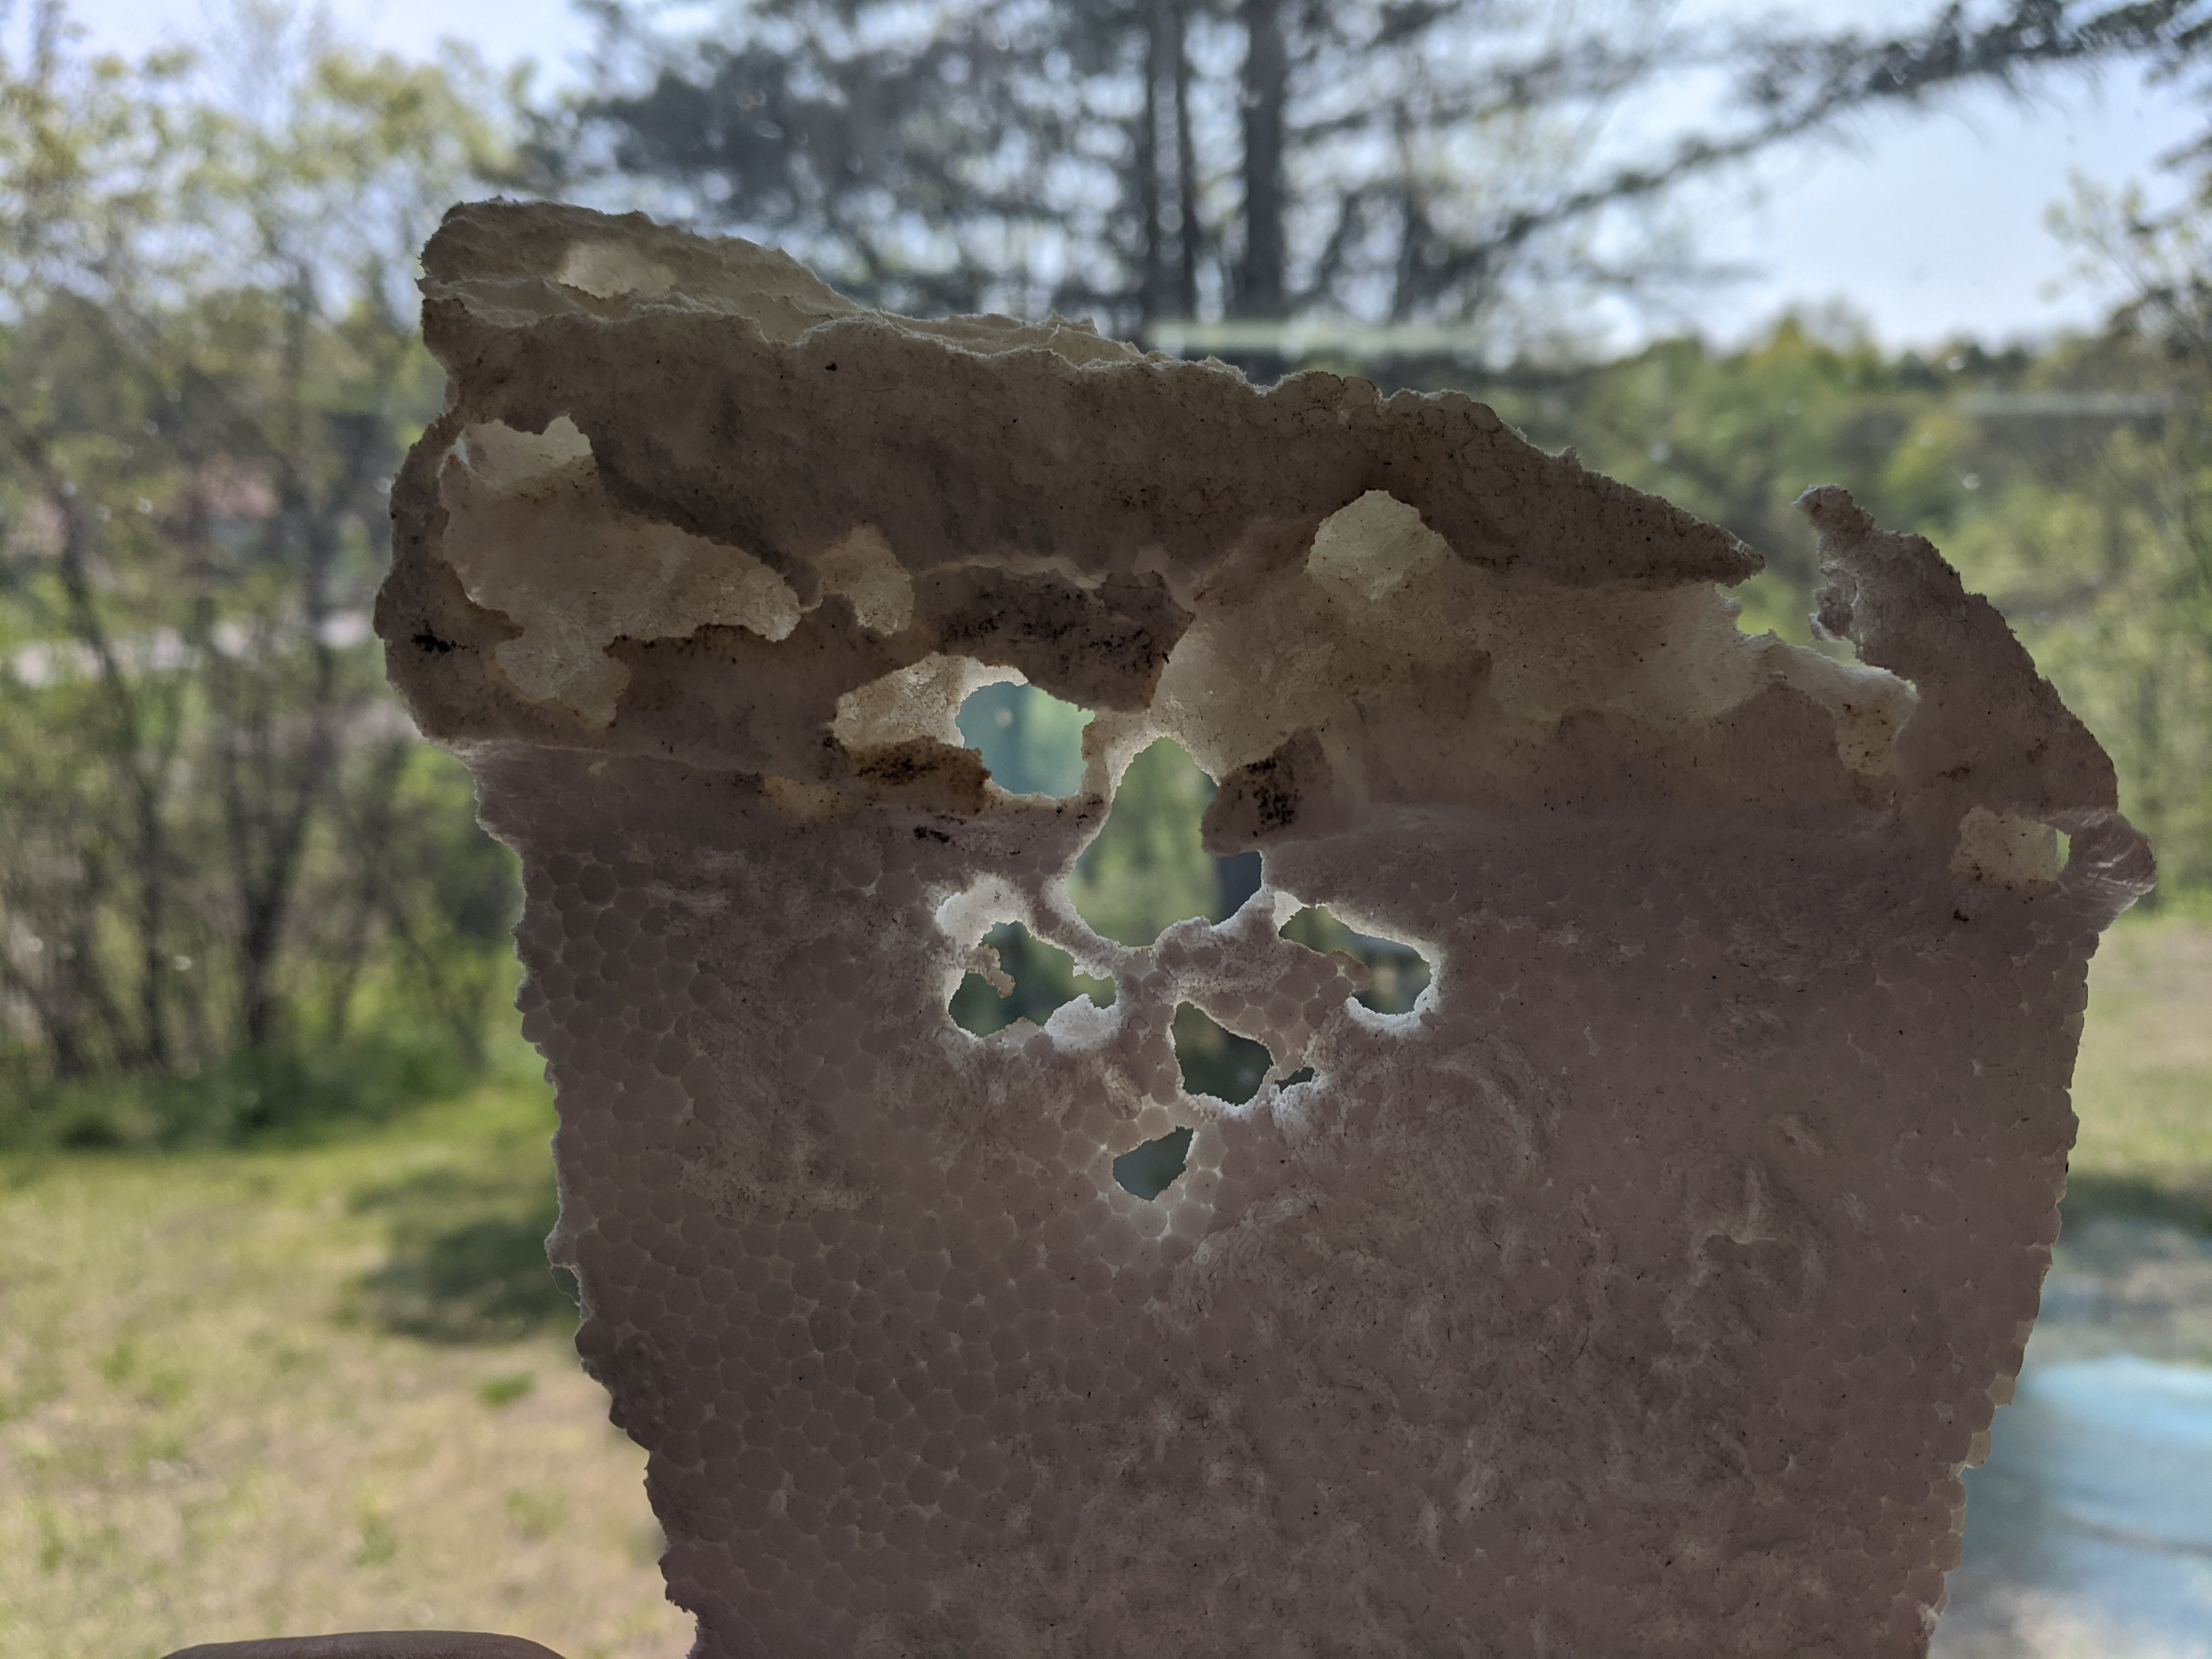
Incomplete aluminum castings from 3D printed wax

In addition to fighting against the rapid cooling of your molten metal, you will have to battle against pockets of gas that form inside of your investment. Depending on several factors including the volume and porosity of your investment as well as whether you have some form of assistance for the pouring (i.e. vacuum or centrifuge) you may need to add a second sprue that will create a vent in your mold for these gases to escape through. In the case of casting our nozzle heater with a simple gravity-fed pour a vent was necessary to allow gases to escape and let the metal into all the corners of our mold.
Having watched a multitude of Youtube videos with people doing investment casting in varying degrees of the DIY spirit and having tried different methods here in the lab, there are a few corners that often get cut here that we would recommend putting a little bit of extra money into getting the correct supplies to make sure your efforts bear fruit. First, we recommend buying a proper casting flask and a rubber base that allows you to screw a sprue onto the base. Lots of examples can be found on the internet of people pouring their investments into cylinders or boxes they tape together out of recycled cardboard and then find some way to keep the sprue fixed in place while the investment is poured, and after trying it both ways we found it was worth the modest price to have a reusable metal flask with a rubber sleeve and reliable sprue attachment methods. You want your object to be nicely centered in the investment, with the sprue plumb so the metal pours evenly into the mold. This is more easily accomplished with a professional quality flask.
Printed object on a sprue, flask with rubber sleeve

The other place where we would recommend spending a bit more money is on the investment material. Again, there are a large number of DIY casting enthusiasts who have success making investments with plaster of paris type mixtures readily available at your local hardware store, but we chose to pay roughly double to get a supply of professional jewelry casting investment. This helps take a lot of the guesswork out of the investing as well as firing processes, as the manufacturer provides extremely specific weighing, mixing, investing, and firing guidelines with the product. These variables include powder to water ratios for a given flask volume, working and curing times, and firing temperatures. Having precise guidelines for success with your investment is crucial if you are just getting started with casting and will save you a good deal of trial and error as you make some of your initial attempts. We used Ransom & Randolph Ultra-vest with BANDUST, it is supposed to cut down on airborne dust particles, though you should still wear a respirator while working with any investment materials. An ordinary “dust mask” such as we have all grown accustomed to wearing for pandemic safety is not sufficient to keep these airborne particles from getting into your lungs! R & R also offers a specific investment material called Plasticast that is designed for working specifically with plastic and wax burnout, though we haven’t tried that specific formulation.
The process of investing requires precise weighing and measuring of dry materials and water, and careful attention to timing all of the stages of the mixing and pouring to ensure that the investment doesn’t set up before you are completely finished. First you will mix your investment thoroughly with water, then the mixed investment needs to be rid of any trapped air bubbles. This is most easily accomplished with a vacuum pump, though it can be done with a vibratory table as well, and internet sources have reported some success using a random orbital sander to vibrate their investment mixtures. We have a large vacuum pump here in the lab, so I used that. Applying vacuum to the wet mixture will result in the air rising to the surface and “boiling over”. At this point it can be removed from the vacuum chamber and poured into the flask with the sprued object inside. Care should be taken to pour the mixture gently down the side of the flask and not directly onto the object, as the investment poured from a height could exert enough force to break the object from the sprue. After the mixture has been poured, vacuum is applied once more for about a minute and then the investment is left to cure. It is very important that the flask is not disturbed while the investment cures!
An empty metal vacuum flask
![]()
Cure time will vary depending on what you are using for an investment. The Ultra-vest recommends a two hour cure time. After it has cured, but before it has been fired, an investment is referred to as being “green”. Ideally, at this point you would have your kiln warmed up to initial firing temperature and pop the investment in. Since we were trying to work the casting schedule into a typical work day and the firing schedule requires many hours in the kiln, we had success making the investment at the end of one work day, and then transferring the green investment into a tightly sealed plastic bag with a damp paper towel inside of it. This keeps the green investment from drying out prematurely, which can cause cracks during the firing process. We would then fire the investment in the kiln on the following morning.
Cured investment with extra vent sprue

You will need a kiln for the firing of the investment, as the investment needs to reach internal temperatures of 1350F. We picked up an old Duncan ceramics kiln from the 80s on Craigslist for a few hundred dollars so we could experiment with casting, it draws a lot of electricity and doesn’t offer the most precise calibration options, but we added a k-probe to monitor the temperature inside the kiln and with a bit of fiddling had it running at the temperatures we wanted. The firing process accomplishes two things: first, the wax all melts and runs out from the mold. Note that you need to orient your investment properly in the kiln so that the sprue is facing downwards and the wax can drip out. This is referred to as the “burnout” phase. Second, the water in the investment mixture is converted to steam and released from the mold, and the investment hardens just like a piece of pottery. At the conclusion of the firing process the investment will become slightly porous, which helps gases to escape during the pouring of the metal. The entire process takes hours, and the time increases based on the volume of the investment. We tried to condense the firing schedule as much as possible to fit within a typical workday, and ended up settling on a slightly abridged schedule that was around eight hours long. The temperature ramps up in the kiln every few hours, the final target temperature is around 1350F but you can’t start with the kiln that hot or your investment will crack. An example of a firing schedule might be two hours at 475F, then two hours at 800F, followed by two hours at 1150F and finally two hours at 1350F.
Craigslist ceramics kiln score

At the end of the firing process the investment must be allowed to cool back down to its ideal pouring temperature, which will be dependent on the metal you are casting. Tables with suggested investment temperature for various metals are available online- don’t confuse them with the pouring temperature that the metal itself needs to be at. Usually the flask temperature is considerably lower than the pouring temperature of the metal, roughly 1000F below. If the flask is too cool the metal will cool too quickly and freeze before completely filling the mold. Conversely, if the flask is too hot it will encourage gas formations that can manifest as tiny pinprick bubbles on the surface of the casting, marring your finish.
That brings us finally to the last process and set of variables- melting and pouring the metal! This is both the most exciting part of the whole process and the most dangerous. You will need a furnace capable of achieving melt temperatures for your chosen metal, as well as adequate safety equipment to help protect you from burns. Super well-insulating gloves with sleeves that go up to your elbow are well worth the purchase for this task, and should be worn while operating the kiln as well. You can purchase kevlar/fiberglass insulated gloves that can withstand temporary contact up into the range of 2000F. A leather apron such as blacksmiths wear is a good idea, and needless to say appropriate footwear should be worn.
We bought a tabletop electric furnace to use for casting, this was the single largest expense for this venture. It holds a fairly large size crucible that the metal can be melted in, and is temperature controlled with a PID. It is quite accurate and creates reproducible results, which helps when trying to orchestrate the cooling of the investment with the melting of the metal. The pouring temperature of the metal is one of the final critical variables for the casting process. Again, there are recommendations and tables easily found on the internet for any of the metals you might want to cast with. Keep in mind some tables might list the melting temperature for metals, which is not the same as the pouring temperature, which will be a fair amount higher. If you were to try to pour metal at the precise melting point, it would solidify as soon as it hit the investment. It needs to be heated sufficiently past the melting point that it can move through the entire mold before cooling enough to become solid. Just as with the flask temperature though, hotter is not always better. Above a certain temperature the grain size of the metal will increase, resulting in a casting that has poor mechanical properties and surface finish. Additionally, you want the metal to arrive at the pouring temperature within a short window of the flask cooling to its preferred temperature- which is to say you don’t want the molten metal to be sitting at that temperature for a long time, as it will begin to oxidize.
Tabletop furnace

We ran all our casting experiments with aluminum , as this is what the final prototype part was intended to be made from. Typically metal can be purchased as “casting grain” which as the name suggests comes in the form of small beads that melt faster than a solid chunk. Additionally, they can be alloys that have preferential qualities for casting. Cast aluminum differs from extruded aluminum in composition, though for our experiments we just used our bandsaw to slice up thin pieces of scrap extruded aluminum to create our pouring stock. If you have a large supply of scrap metal it can be a way to cut down your costs especially while learning the process, since you are likely to have a few failures before you achieve better quality results. If you don’t have any scrap metal at your disposal, you might as well order proper casting grains!
The last thing to keep in mind while pouring the metal is to keep calm and don’t pour too fast! The combination of pressure from not wanting to screw up at the end of a multi-step process and the danger factor of molten metal can lead to an elevated heart rate! Take a deep breath before you grab that crucible, make sure you have a clear work area and everything is arranged for the perfect pour. We set up what we now affectionately call “the litter box”, which is just a small sandbox that the investment flask can be set down in. The sand insulates the still hot flask and if there is any spillage of molten metal it gets trapped in the sand. It is counter-intuitive to pour the metal slowly as you think you want to transfer it from the heat into the mold as quickly as possible, but the turbulence of a fast pour is undesirable, and can lend itself to trapped air pockets. Pour it nice and slow, and let the metal fill up the top of the spout to form a “button”. The extra weight of the button can help force the metal into all the parts and pieces of the mold. Note that there are additional ways to force the molten metal through the mold, such as using a vacuum table or a centrifuge. We chose to see if we could get successful results with a simple gravity pour, and while we succeeded with this method we will likely still build a vacuum table in the future to try to get even better results with future casting.
Sand box aka "the litter box"

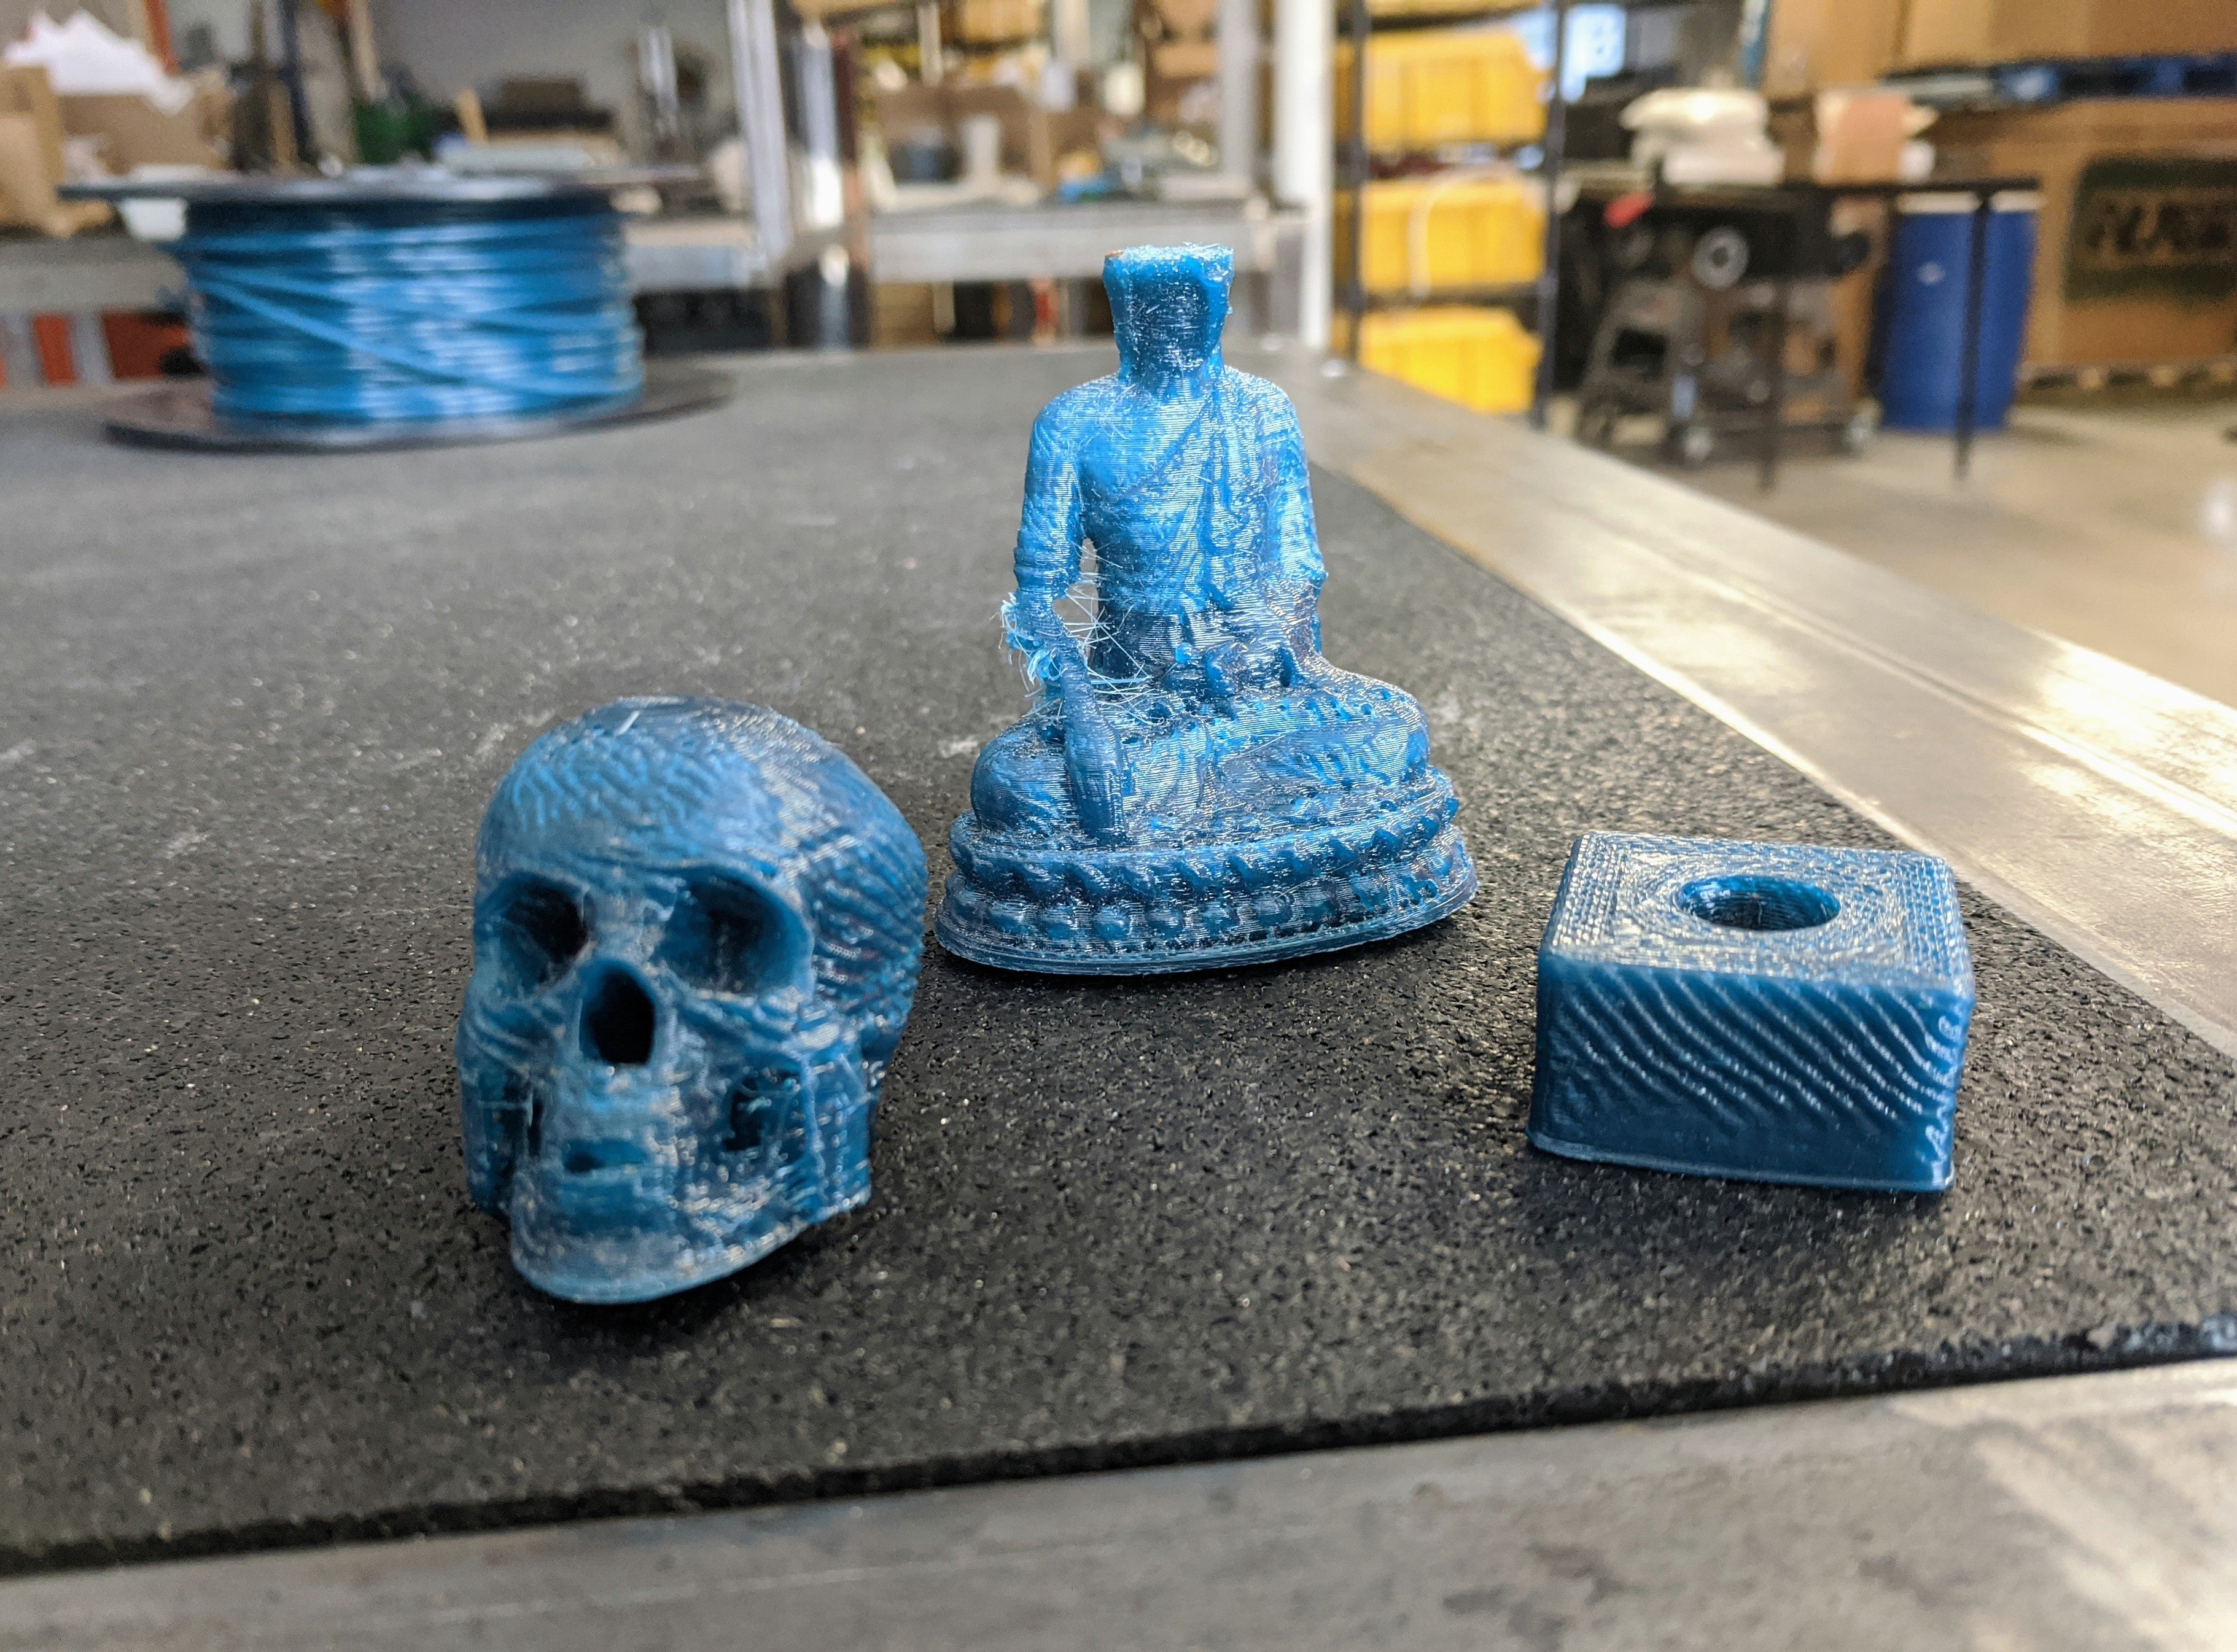
Give your flask some time to cool off, then when you are ready to see the fruit of your labor you can either smack the investment around with a mallet or many investments will readily dissolve again in water. We had two failures in the form of incomplete castings before we got something that we considered a success, even though it still had a number of surface defects. Functionally, it would serve its purpose as a prototype part and was cast to the correct dimensions to interface with the specified nozzle. The sprue was cut off close to the surface of the object, and a belt grinder was used to remove the remainder of the extra material. A quick pass on each of the faces of the cube helped clean up some of the surfaces, though deeper imperfection from gas bubbles still persisted. We learned a lot, but are still relative novices to this complex process! We hope to continue to build upon the knowledge we’ve acquired thus far, and perhaps next time try casting with another material such as bronze, and make something a bit more “artful” than the nozzle heater.
First attempt failure, incomplete casting

Successful cast, though imperfections abound

Post-processing with belt grinder

If you are just getting started learning to cast or have questions about any of the aspects we discussed in this multi-part blog post, don’t hesitate to reach out with questions or comments! Though we have tried to cover the entire process to some degree, the process by and large is regularly addressed in book length- so we’ve had to be brief where you could write a treatise. Have you had success casting objects from prints? Feel free to share links to what you have made in the comments section, we’d love to see what you have created!