
While we're working with a lot of materials people have laying around, printing with recycled Craftsman Shop-Vac Vacuum nozzles might raise an eyebrow or two. Not only with questions of "why?" but also of..." how?"
We were talking with the head of a local company that buys Craftsman Shop-Vac style canister vacuums in bulk. They repurpose the vacuums into things we can't discuss, but at the end, they don't use most of the accessories. They asked if we wanted them, and, as you might imagine, we accepted.
It's just so difficult for us to let plastic go in the trash.

The major thing to know going in is that these nozzles had no markings, whatsoever. We couldn't verify the type of plastic before we started because, well, that would have made it easy. And made this write up far less interesting.
We always start working with unknown materials by guessing the type of plastic. We've worked with a lot of materials over the years, so we can generally guess what we're working with. Even if we don't know for sure, we can eliminate a few possibilities. This makes testing a simpler process.
Our suspicion was that these vacuum nozzles were made of polypropylene, which makes sense as it's a common choice for this sort of manufacturing.
As the nozzles were unused and clean, we didn't have to do any prep work. Grinding was easy because the walls of the items were fairly thin, only about 2mm.
The only issue we had in extruding was around cooling. The filament was cooling into an oval, which made measurement difficult. This was due to the lower melt flow of polypropylene as compared to other materials. We're currently doing some additional testing with a water bath to see if we can improve the output.

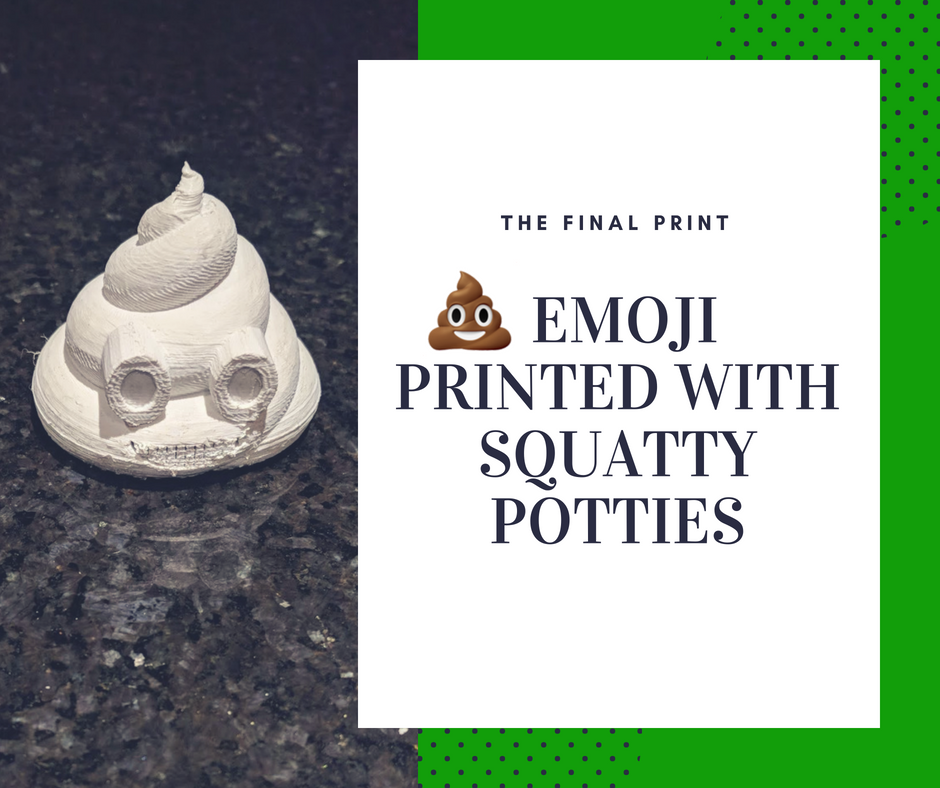
We struggled to get the material to print, not because of the cooling issues during extrusion, but getting the material to stick to the printing bed. We tried a lot of things, finally settling on printing onto adhesive backed velcro. This worked well and allowed us to complete a print of our official Filabot test print.
If you'd like to know more, we have a full write-up of our printing, including temperature settings and more, available here.
Due to the issues with the filament ovality for this study we will not have any samples available until we can figure out the best way to make the filament round.